Creating a Digital Snowstorm
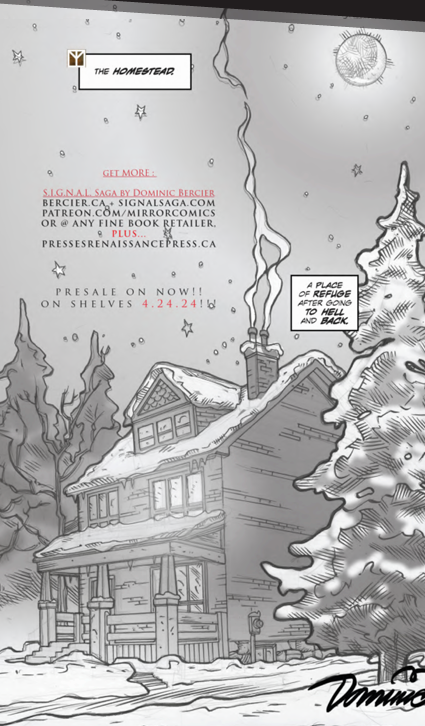
S.I.G.N.A.L. Saga
How-to create snowstorms in digital comic book art (even if your art is traditional!)
If you have image creation software, like Photoshop or one of its competitors, here’s how I created a snowstorm in a book with Canada’s Mirror Comics Studios + Renaissance Press, fine publishers of Diverse Canadian Voices.
Lesson 1: Create Snowstorms
- Scan your image at 300 DPI to 400 DPI so that it’s high resolution, and work digitally from here on in. Or, start from digital directly. Import your document to Photoshop or a similar program and place it inside a comic book-sized document: 6.75”x10.25”.
- Once your image is in, color in your flats (the basic shapes drawn by hand). Then use Dodge/Burn in your Layer Mode to color in the shadows and highlights. This is standard, but here’s where the storm comes in.
- Draw any snow? If not, select those flats and paint bucket simple white or blue snow to fill it in. Then, do a bevel and emboss with light highlights and darker shadows on the bottom. Watch as all the snowflakes adjust (unless you’re using a special lighting source from underneath). Good job.
Lesson 2: If You Haven’t Drawn Snow Yet
- Draw rough shapes for snow. It doesn’t need to be perfect.
- Go to Effects > Blur > Motion Blur. Choose the Linear one. Adjust to create a snowstorm effect.
- Advanced: Use a second layer of snow at a slightly different angle. It will look more natural this way. Use layer styles to work in the colors and effects, or just use multicolored snow.
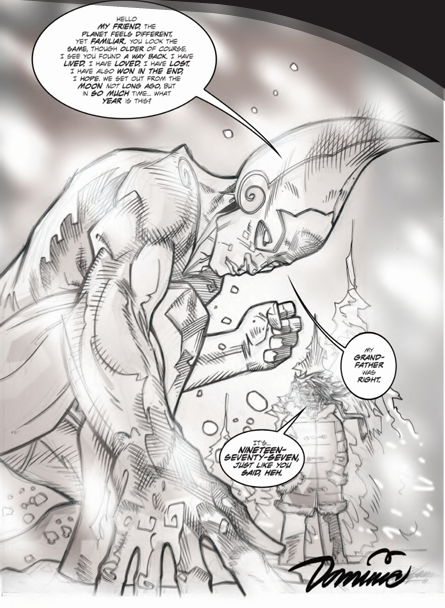
Lesson 1 & 2 Examples
The next two pages are a mix of traditional “still” snow and a “digital motion” snowstorm. How easy is it to create a snowstorm? Well, now you know!
Check out more at SIGNALSAGA.COM